Crafting a Soldering Iron Using a Lighter: Step-by-Step Guide
Creating a soldering iron from a lighter can be a handy skill, especially if you find yourself lacking proper tools for electronics repair. This step-by-step guide will help you craft a functional soldering iron using materials you likely have at home.
What You Will Need
- A lighter (preferably a butane lighter for consistent heat)
- A metal object, like a screwdriver or a thick wire
- Wire cutters or scissors
- Small piece of solder (for connecting electronic components)
- Protective gloves (optional, for safety)
Step 1: Prepare Your Metal Object
First, take your metal object. This might be a screwdriver or a piece of thick wire. Ensure it is clean and free from rust or grease. This cleanliness ensures better heat conduction, making your homemade soldering iron more effective.
Step 2: Shape the Tip
You may want to create a pointed or flat tip on your metal object, depending on the precision you need. If you’re using a wire, simply twist it to form a ground flat tip. If you opt for a screwdriver, the existing tip may suffice. The key is to ensure that it can transfer heat effectively to the solder and electronic components.
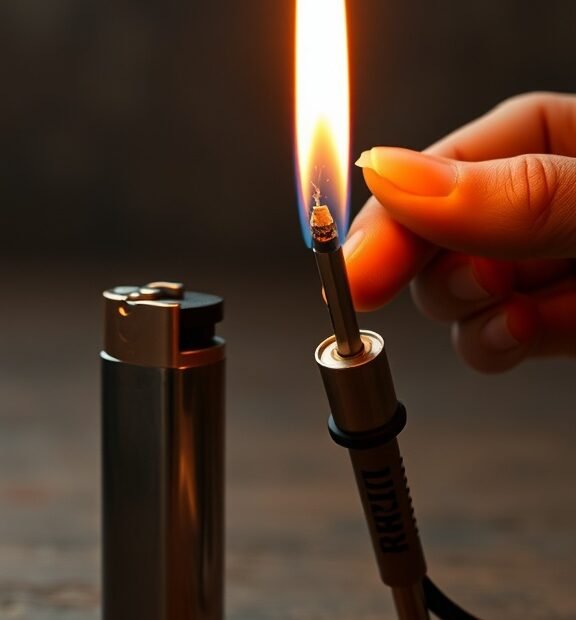
Step 3: Start the Lighter
Next, ignite the lighter. Make sure you do this in a safe environment—preferably outdoors or in a well-ventilated area. Light the flame and keep it steady.
Step 4: Heat the Metal Tip
With the flame from the lighter, carefully hold the metal object above the flame. Do not touch the metal to the flame; instead, let the heat from the flame raise the temperature of the metal. Hold it steady for about 30 seconds to a minute, ensuring it gets hot enough to melt the solder.
Step 5: Soldering Process
Now that your metal tip is heated, it’s time to use it for soldering. Here’s how:
- Position your solder and the components that you want to connect.
- Transfer the tip to the joint area where the solder is needed.
- Touch the solder to the heated tip, allowing it to melt and flow into the joint. The heat from the metal should be enough to melt the solder, forming a secure connection.
- Once done, remove the screwdriver or wire from the connection.
Step 6: Cool Down
After you finish soldering, give your makeshift soldering iron some time to cool down. Handle it carefully, as it will still be very hot. Place it on a heat-resistant surface to avoid setting fire to anything.
Safety Precautions
Using a lighter to create a soldering iron can be risky, so take proper precautions. Here are some safety tips:
- Always work in a well-ventilated area to avoid inhaling fumes.
- Wear gloves to protect your hands, especially when handling hot metal.
- Keep flammable materials away from your work area.
- Turn off the lighter immediately after use to prevent accidents.
Tips for Better Results
To improve your soldering experience, consider these additional tips:
- Practice on scrap electronic components before tackling your main project.
- Avoid overheating the metal tip, as this can lead to damage or melting of other materials.
- Be patient; ensure the metal tip is hot enough before attempting to melt the solder.
With this guide, you now have the knowledge to create your own soldering iron using a lighter. By following these steps, you can accomplish minor electronic repairs effectively. Remember to prioritize safety and practice when soldering for the best outcomes!
Safety Tips and Best Practices for DIY Soldering Solutions
Soldering can be a rewarding activity, especially for DIY electronics enthusiasts. However, safety must always come first. Whether you’re a beginner or have some experience, following safety tips and best practices is crucial to ensure a safe and enjoyable soldering experience. Here are essential guidelines to keep in mind while working with soldering tools.
Wear Protective Gear
Always wear the appropriate safety gear to protect yourself from potential hazards. This includes:
- Safety glasses: Protect your eyes from solder splashes and fumes.
- Heat-resistant gloves: These can prevent burns when handling hot soldering tools or components.
- Long-sleeved clothing: Cover your skin to minimize the risk of burns.
Choose a Safe Workspace
Your workspace can significantly impact your safety while soldering. Here are some tips for creating a safe environment:
- Ventilation: Work in a well-ventilated area to avoid inhaling harmful fumes from soldering materials.
- Clear work area: Keep your workspace free of clutter to prevent accidental spills or fires.
- Non-flammable surfaces: Ensure your workspace consists of non-flammable materials to minimize fire risks.
Use Tools Properly
Understanding how to use your soldering tools correctly is vital for safety. Here are some best practices:
- Read instructions: Familiarize yourself with your soldering iron or gun before use.
- Check cords and connections: Inspect electrical cords for damage to avoid shocks or shorts.
- Secure your soldering iron: Always place the hot soldering iron back on its stand and not in a position where it could roll off or knock over other items.
Be Cautious with Solder Materials
The materials you use during soldering can also pose hazards. Follow these guidelines:
- Choose lead-free solder: Use lead-free solder whenever possible to minimize health risks associated with lead exposure.
- Handle solder carefully: Make sure to minimize contact with the skin, as some solder materials can be harmful if ingested or absorbed.
- Store solder properly: Keep solder stored safely in a cool, dry place away from children and pets.
Practice Heat Management
Soldering involves high temperatures that can lead to accidents. Implement the following heat management practices to stay safe:
- Preheat components: Some components can be sensitive to heat; preheating them before soldering can help to avoid damage.
- Heat control: Always apply heat for the minimum time necessary to prevent overheating components or causing burns.
- Cool down: Allow the soldering iron to cool completely before storing it to prevent fire hazards or burns.
Handle Electronic Components Carefully
Working with circuit boards and components requires extra attention. Keep these tips in mind:
- Ground yourself: Use an anti-static wrist strap to protect sensitive electronic components from static electricity.
- Secure components: Ensure all components are held in place properly before soldering to avoid accidental burns or short circuits.
- Follow soldering techniques: Proper soldering technique—like using the correct tip size and angle—can help prevent damaging components and create reliable connections.
Recognize When to Seek Help
If you’re ever unsure about a technique or safety procedure, don’t hesitate to seek guidance. Connecting with experienced solderers or looking up tutorials can drastically improve your skills and safety knowledge. Online forums and local maker spaces can offer assistance and share best practices.
By following these safety tips and best practices for DIY soldering solutions, you can enjoy a productive and safe soldering experience. Remember, safety isn’t just about the tools you use but also about the environment and techniques you employ. Happy soldering!
Conclusion
Creating a soldering iron with a lighter can be a useful DIY project, especially when you need a tool in a pinch. By following the step-by-step guide, you’ve learned how to assemble a functional soldering iron using readily available materials. This innovative solution allows you to tackle small electronic repairs or craft projects without the need for a traditional soldering tool.
As with any DIY endeavor, safety should be your top priority. The process of crafting a soldering iron can pose risks if not approached with caution. Remember to work in a well-ventilated area, away from flammable materials, and always keep a fire extinguisher on hand. Wearing protective gear, such as safety glasses and heat-resistant gloves, can further ensure your safety during the process. Additionally, practice proper handling techniques to avoid burns or accidents.
With the skills you’ve gained, you’re now equipped to handle basic soldering tasks. However, always assess your comfort level and experience before taking on more complex projects. If you’re ever in doubt, don’t hesitate to seek advice from experienced hobbyists or professionals. Whether you’re a beginner or an experienced crafter, this technique can enhance your toolkit, allowing for creativity and efficiency.
Embrace this newfound knowledge, and don’t hesitate to share it with others. Empowering more people to undertake DIY projects can spark innovation and problem-solving in everyday life. Happy soldering!