The Importance of a Soldering Iron for Arduino Projects
When starting with DIY electronics and Arduino projects, you might wonder about the tools necessary for success. One tool that stands out in importance is the soldering iron. Whether you’re creating simple circuits or complex gadgets, a soldering iron plays a crucial role in the process. Understanding why a soldering iron is essential can help enhance your skills and improve the quality of your projects.
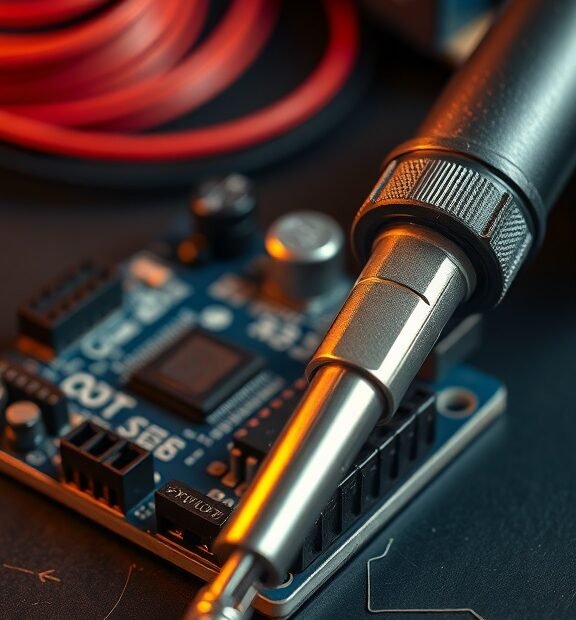
Soldering is the method of joining electronic components together using a melted filler metal, known as solder. This process provides secure connections, allowing electricity to flow seamlessly between components. If you want to build a custom circuit board, attach wires, or even repair existing projects, having a soldering iron in your toolbox is indispensable.
In many Arduino projects, you will encounter various components that must be connected effectively. These can include sensors, motors, LEDs, and shields. While breadboards are often used for prototyping because they don’t require soldering, moving to a permanent setup demands a reliable connection. Using a soldering iron, you can create robust connections that ensure your project functions smoothly.
Why You Should Use a Soldering Iron for Arduino Projects
Here are several reasons why investing in a soldering iron can benefit your Arduino projects:
- Durability: Soldered connections hold better over time compared to breadboard connections. This prevents any loose wires from causing your project to fail.
- Customization: With a soldering iron, you can customize your board layout easily. You aren’t limited by the layout of your breadboard.
- Space Efficiency: Soldering allows you to create compact designs, making it easier to work with limited space.
- Interference Reduction: Proper soldering helps reduce electrical noise, improving the performance of your electronic gadget.
- Skill Development: Learning to solder not only makes you more versatile as a maker but also helps you understand electronic circuits better.
Choosing the Right Soldering Iron
When selecting a soldering iron for your Arduino projects, consider the following factors:
- Wattage: Choose a soldering iron with a wattage between 20 to 60 watts for optimal heating without risk of damage to components.
- Tip Size: Thinner tips are ideal for small components and detailed work, while larger tips are suitable for soldering thicker wires.
- Temperature Control: An adjustable temperature control feature allows you to use the appropriate heat for different types of solder and components.
- Ease of Use: Look for an ergonomic design that feels comfortable in your hand, especially if you’ll be using it for extended periods.
Basic Soldering Techniques
Once you have your soldering iron, mastering some basic techniques will help you achieve the best results. Here are essential tips to keep in mind:
- Preparation: Always clean the tip of your soldering iron before use to ensure good heat transfer. Use a damp sponge or brass cleaning pad.
- Heating the Joint: Heat both the component lead and the board pad simultaneously for a few seconds before applying the solder.
- Solder Application: Feed solder into the joint, allowing it to flow and create a connection. Remove the solder before taking away the iron.
- Let it Cool: Allow the solder joint to cool undisturbed to form a solid connection.
While many Arduino projects can be completed without soldering, incorporating a soldering iron into your workflow opens up new possibilities. It enhances the reliability of your creations and helps you explore further into the world of electronics. With practice and the right techniques, you’ll gain valuable skills that elevate your making experience.
If you’re serious about your Arduino projects, having a soldering iron in your toolset is not just beneficial; it’s essential. From enhancing durability to enabling customization, the soldering iron proves to be an invaluable partner in your electronic endeavors. Embrace the art of soldering, and watch as your projects come to life with precision and excellence.
Essential Tools Every Arduino Enthusiast Should Have
If you’re diving into the world of Arduino, having the right tools can make your projects more enjoyable and successful. While your first impression may be that you only need the Arduino board itself, there are several essential tools that every Arduino enthusiast should consider keeping handy. Here’s a comprehensive list to help you get started.
Arduino Board
Your journey starts with the Arduino board. There are various models available, like the Arduino Uno, Mega, or Nano. Each has its own set of features, catering to different project needs. The Uno is a popular choice for beginners because of its user-friendly interface and wide community support.
Soldering Iron
Many Arduino projects require you to connect wires or components permanently. This is where a soldering iron comes in. Whether you’re creating custom circuits or repairing components, a soldering iron can help ensure your connections are solid. Make sure to also get solder wire; lead-free options are available if you’re looking for a safer alternative.
Breadboard
A breadboard is essential for prototyping your projects without having to solder. It allows you to test your circuits quickly and adjust components as needed. You can easily insert and remove wires and components, which makes it ideal for experimenting with different configurations before deciding on a final assembly.
Jumper Wires
Jumper wires are another necessity. They come in different lengths and configurations, allowing you to connect components on your breadboard or directly to your Arduino board with ease. Having both male-to-male and female-to-female jumper wires will give you flexibility in connecting various components.
Multimeter
A multimeter is a must-have tool for diagnosing issues in your circuits. It can measure voltage, current, and resistance, helping you troubleshoot problems effectively. Understanding how to use this tool can save you time and frustration as you work on your projects.
Power Supply
While you can power Arduino boards through USB, having a dedicated power supply is beneficial for larger projects. A battery pack, for instance, allows your projects to remain mobile. Alternatively, a plug-in power supply can provide a steady current for longer, more demanding projects.
Component Kit
Investing in an electronics component kit can save you a lot of time and money. These kits typically include resistors, capacitors, LEDs, and other discrete components you’ll need for various projects. Having a well-stocked kit lets you dive into Arduino programming right away without needing to order parts.
Wire Stripper
A wire stripper is essential for preparing your jumper wires. It ensures that you can easily strip off the insulation from the ends of the wires, allowing for better connections. This tool is simple yet vitally important in any electronics toolkit.
Heat Shrink Tubing
After soldering connections, using heat shrink tubing can help protect your joints from damage and shorts. It provides insulation and adds an extra layer of durability to your projects. It is particularly useful in applications where wires may be exposed to movement or moisture.
Arduino IDE and Software
While this isn’t a physical tool, downloading the Arduino Integrated Development Environment (IDE) is essential. This software allows you to write and upload code to the Arduino board. Familiarizing yourself with the IDE will make coding your projects far more effective.
Case or Organizer
With all these tools, it’s easy to create a cluttered environment. Consider using a toolbox or drawer organizer to keep everything in place. This not only saves you time in searching for tools but also protects your gear from damage.
As you embark on your Arduino adventures, having the right tools at your disposal will help you create more effectively and efficiently. Consider investing in these essentials to enhance your experience and streamline your projects.
Conclusion
A soldering iron plays a vital role in the success of your Arduino projects. Whether you’re building your first robot or creating a custom circuit board, a reliable soldering iron enables you to make sturdy connections that help ensure your creations work effectively. By joining components securely, you enhance the durability of your projects, which is crucial for long-term functionality.
Moreover, as an Arduino enthusiast, equipping yourself with essential tools can dramatically increase your efficiency and creativity. Beyond just a soldering iron, having wire strippers, pliers, a multimeter, and a good set of jumper wires can elevate your project experience. Each tool plays a specific role; for instance, a multimeter helps troubleshoot issues, while wire strippers enable you to prepare your connections efficiently. Investing in these items enhances not only the quality of your work but also your enjoyment of the building process.
Combining the right tools and your passion for learning will turn simple ideas into innovative solutions. Remember, every skilled maker started as a beginner, and the right equipment can help you overcome challenges as they arise. So, whether you’re designing a simple LED project or tackling more complex electronics, having a soldering iron and a comprehensive toolkit will empower you to bring your ideas to life. Embrace the journey, keep experimenting, and let your creativity flow!